Fusion is compatible with Windows 7 through Windows 10, and Windows Server 2003 through 2012 R2.
Fusion is installed on Windows through standard Windows executable installers. To install the software, you will need the current Fusion Windows installation file and administrator access on the computer.
IMPORTANT: Fusion can only be installed on a 64-bit operating system. If you are currently running a 32-bit operating system then Fusion will not start after installation.
1. Open the Fusion installation package, which will be a .exe file. You will be asked if you want to allow the installer to make changes to your computer. Click “Yes” to allow the installer to open.
2. The installer will open and you will be asked to accept the End-User License Agreement. Click the “I Agree” button after reading the agreement to accept it.
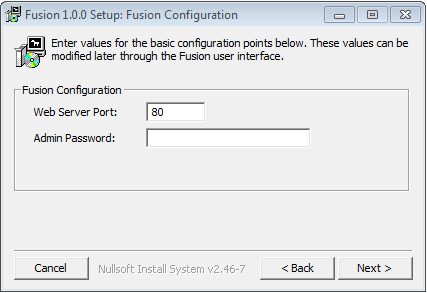
3. The installer will ask you to set the webserver port and the default admin password:
- By default, the webserver port is set to port 80.
- IMPORTANT: If you use the default port of 80, make sure that there are no conflicting applications using the same port, including Microsoft IIS or IPConfigure Orchid.
- Enter the password you would like to set for the default admin account in the “Admin Password” field.
5. Click the “Next” button once the above step has been completed.
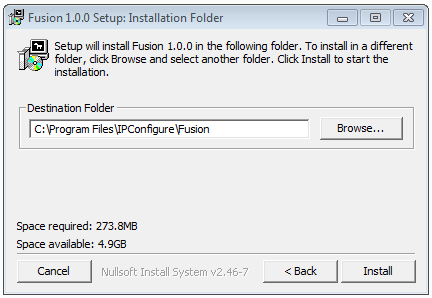
6. The installer will ask you to confirm the installation folder. By default this is C:\Program Files\IPConfigure\Fusion and does not need to be changed. However, the installation directory can be updated if needed.
7. Click the “Install” button to proceed with the installation.
Fusion is now accessible via web browser at the port you specified above.
Comments
0 comments
Please sign in to leave a comment.