The IP address for the server Orchid is running on can be easily updated through the Windows Network Settings.
1. Navigate to Control Panel > Networking and Sharing Center.
- If Control Panel is set to show options in a Category view, click "Network and Internet" then "Network and Sharing Center"
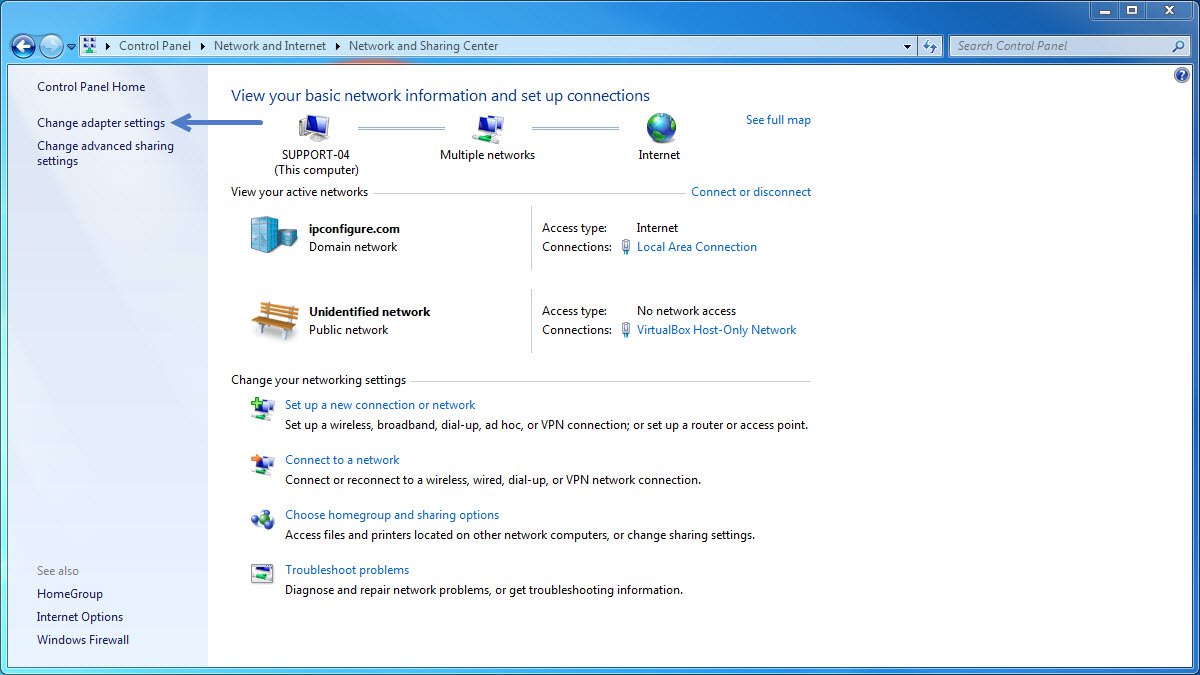
2. On the left hand column, click 'Change Adapter Settings.'
3. Right click on the active ethernet adapter and click the "Properties" option.
- Hint: The current active ethernet adapter is generally named Local Area Connection, but could be named differently depending on the setup of your server.

4. Click Internet Protocol Version 4 (TCP/IPv4) and then the "Properties" button.

5. Check the radio button for 'Use the Following IP Address' and fill out the necessary fields.
Once you have updated the network settings with the new IP address, click "OK" button to close the network settings and save the new IP address.
For further assistance, please submit an Orchid Technical Support Request.
Comments
0 comments
Please sign in to leave a comment.